Workflow
Students in the CS101B/courses use VS Code to write C++ programs. VS Code is an integrated development environment (IDE) with tools to edit, build, run, and debug programs.
Installation
Install GCC toolchian
Download and install MSYS2 and run the following command:
pacman -S mingw-w64-ucrt-x86_64-toolchain mingw-w64-ucrt-x86_64-cmake mingw-w64-ucrt-x86_64-ninja
Add the bin directory into the environment variables PATH:
C:\msys64\ucrt64\bin
Run the following command:
sudo apt install build-essential cmake ninja-build
Install Qt library
Run the following command:
pacman -S mingw-w64-ucrt-x86_64-qt6
Run the following command:
sudo apt install qt6-base-dev qt6-multimedia-dev
Install CS101 library
Download CS101 package and extract.
Change the terminal to CS101 folder and run the following command:
cmake -G Ninja -S . -B ./build -DCMAKE_BUILD_TYPE=Debug -DCMAKE_INSTALL_PREFIX=${MINGW_PREFIX}
cmake --build ./build
cmake --install ./build
cmake -G Ninja -S . -B ./build -DCMAKE_BUILD_TYPE=Debug
cmake --build ./build
sudo cmake --install ./build
Install VS Code
Download and install Visual Studio Code for your platform.
Open VS Code and install C/C++ Extension Pack.
Build and Run
Download the Welcome program and extract.
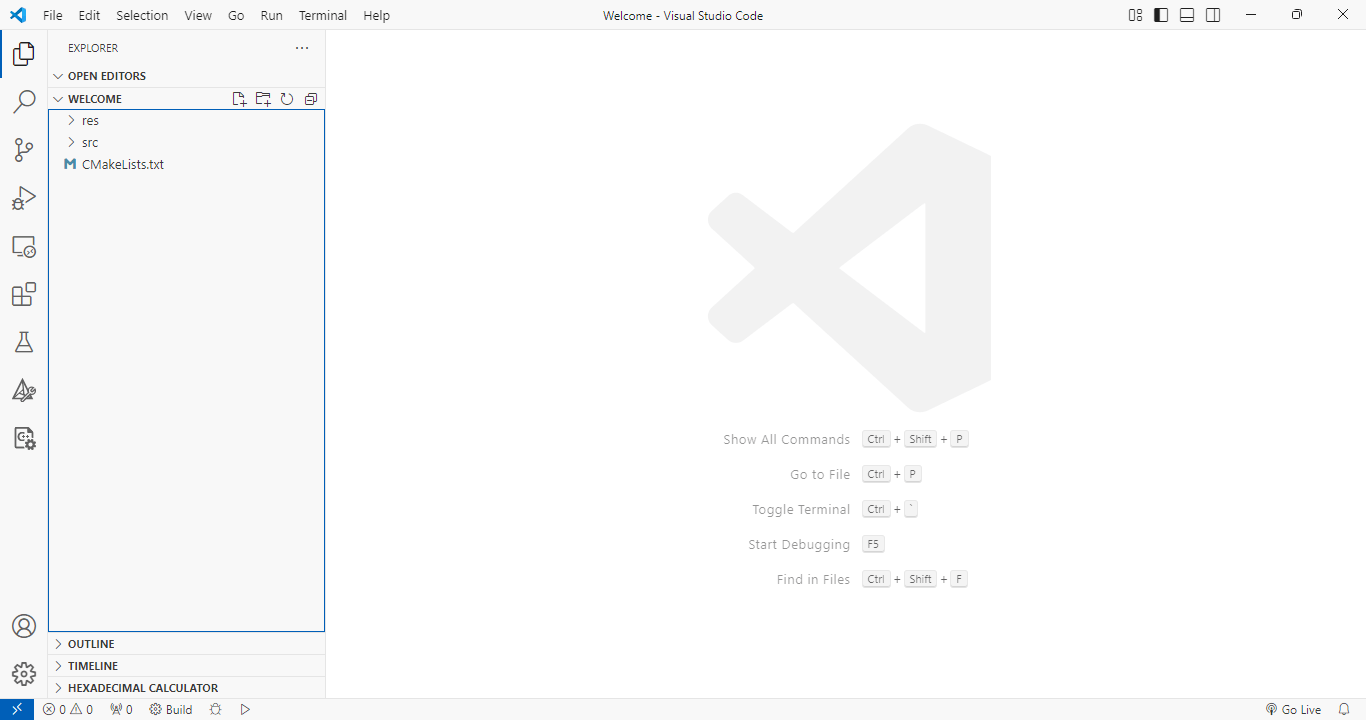
Open the project in VS code:
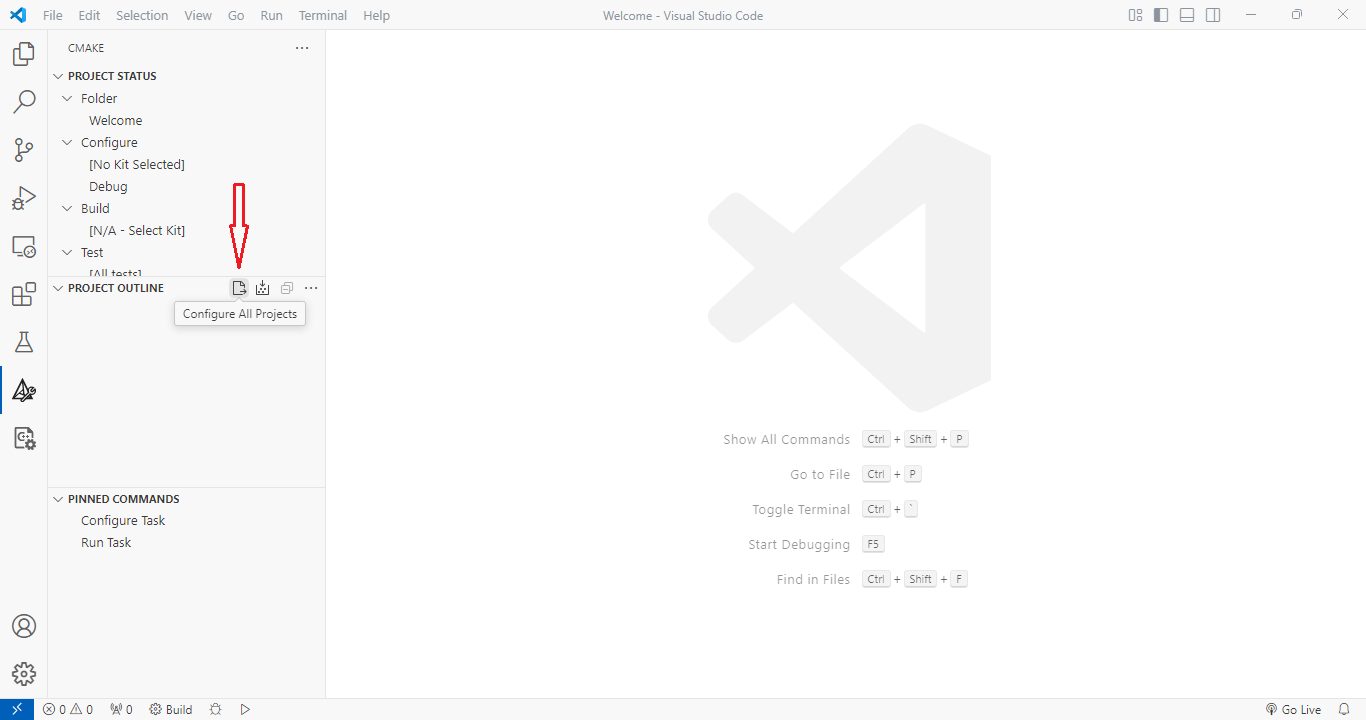
Change to the “CMake” panel and click the “Configure All Projects” button:
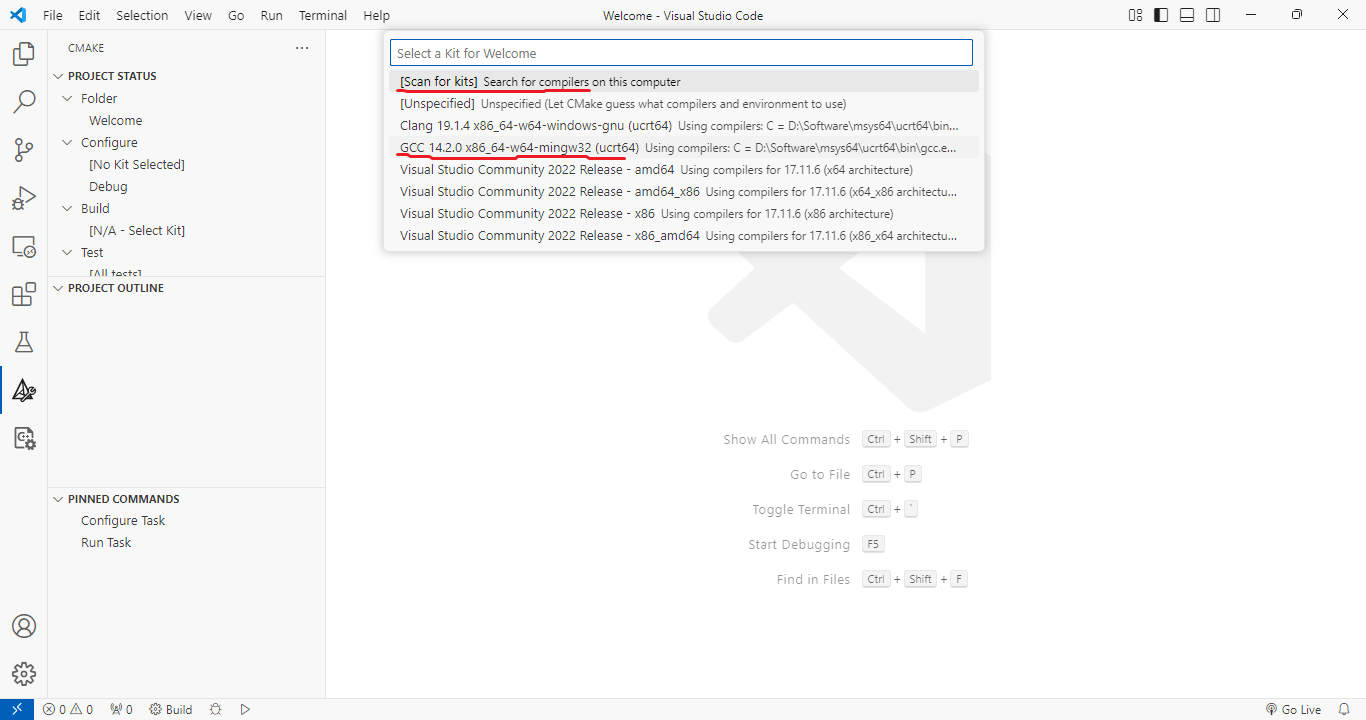
In the pop-up menu, choose “Scan for kits” and select GCC toolchain:
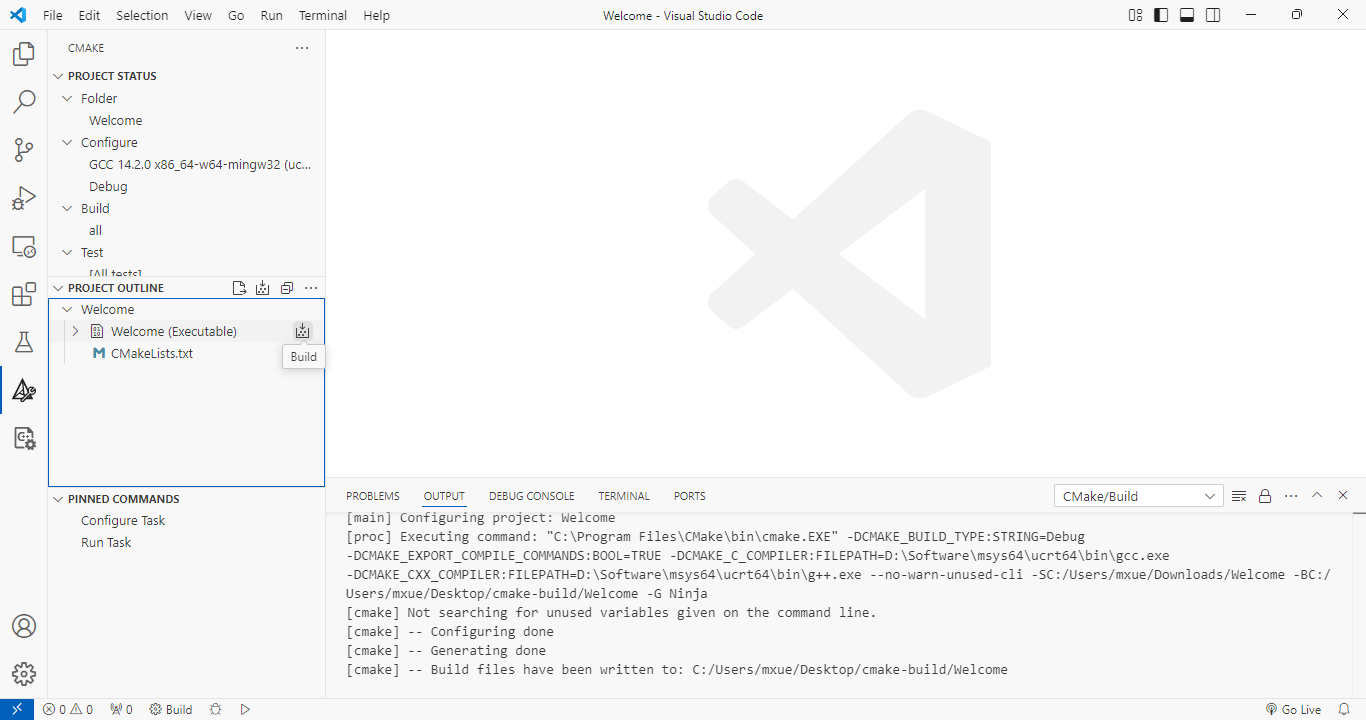
When VS Code finish configuration, click the “Build” button:
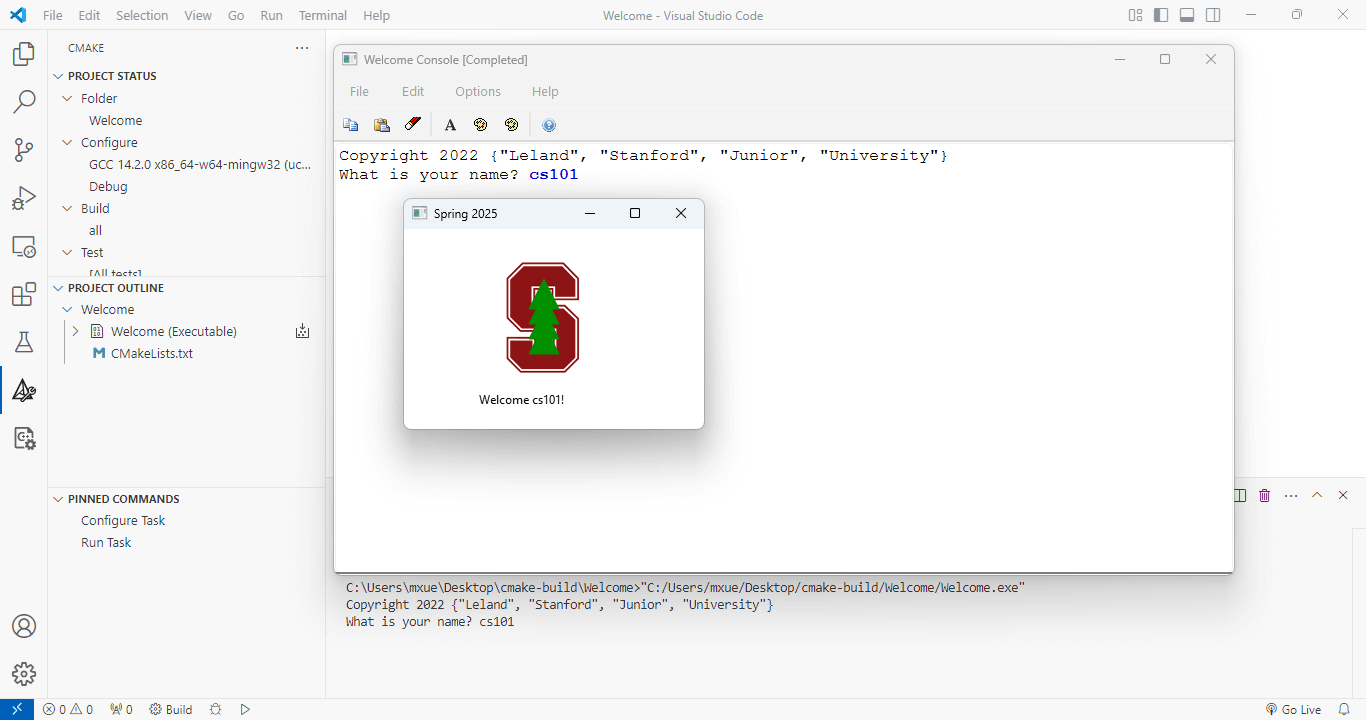
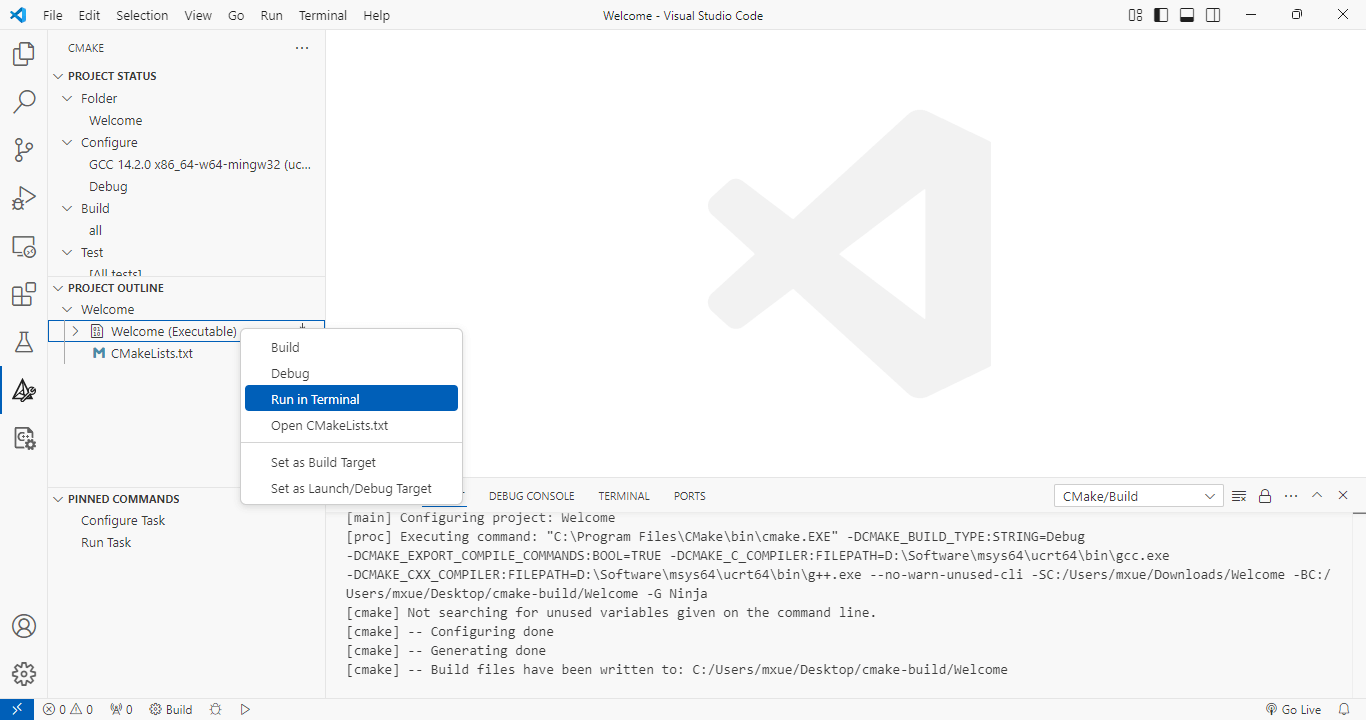
Right-click the project name, you can run the program in “Debug” mode or “Run in Terminal” mode:
If you select the “Run in Terminal” option, the welcome program will prompt you to enter your name and then will show a graphics window with the Stanford logo and confirmation of your library install: